Calibrating the temperature sensor in a Daylight Press Machine is a crucial process that ensures the accuracy of temperature measurements and, consequently, the quality of the products manufactured. As a supplier of Daylight Press Machines, I understand the significance of this calibration and am here to guide you through the process.
Why Temperature Sensor Calibration is Important
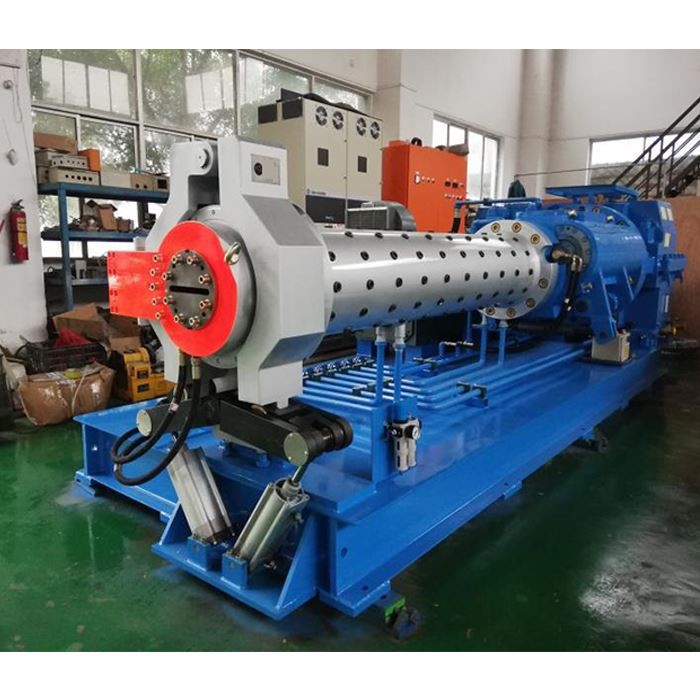
Temperature plays a vital role in the operation of a Daylight Press Machine. Whether you are working with Rubber Mixer, Bicycle Tyre Building Machine, or Cold Feed Rubber Extruder, precise temperature control is essential for achieving the desired product properties. Incorrect temperature readings can lead to various issues, such as inconsistent product quality, reduced efficiency, and even equipment damage.
A calibrated temperature sensor provides accurate temperature data, allowing the machine to maintain the optimal temperature throughout the manufacturing process. This not only improves the quality of the products but also extends the lifespan of the machine by preventing overheating or underheating.
Tools and Materials Required
Before you start calibrating the temperature sensor in your Daylight Press Machine, you will need the following tools and materials:
- A reliable reference thermometer: This thermometer should have a high level of accuracy and be calibrated regularly.
- A data logger: This device is used to record the temperature readings from both the sensor in the machine and the reference thermometer.
- Wrenches and screwdrivers: These tools are required to access the temperature sensor in the machine.
- Cleaning materials: You will need to clean the temperature sensor before calibration to ensure accurate readings.
Step-by-Step Calibration Process
Step 1: Prepare the Machine
Before you start the calibration process, make sure the Daylight Press Machine is turned off and has cooled down to room temperature. This will prevent any potential hazards and ensure accurate calibration.
Step 2: Locate the Temperature Sensor
The temperature sensor in the Daylight Press Machine is usually located near the heating element or the area where the temperature needs to be monitored. Refer to the machine's manual to find the exact location of the sensor.
Step 3: Remove the Temperature Sensor
Use the wrenches and screwdrivers to carefully remove the temperature sensor from the machine. Be gentle to avoid damaging the sensor or any other components.
Step 4: Clean the Temperature Sensor
Clean the temperature sensor using a soft cloth and a mild cleaning solution. This will remove any dirt, debris, or residue that may affect the accuracy of the sensor. Make sure the sensor is completely dry before proceeding to the next step.
Step 5: Install the Reference Thermometer
Place the reference thermometer near the temperature sensor in the machine. Make sure the reference thermometer is in direct contact with the same medium as the temperature sensor, such as the heating element or the material being processed.
Step 6: Connect the Data Logger
Connect the data logger to both the temperature sensor in the machine and the reference thermometer. This will allow you to record the temperature readings from both devices simultaneously.
Step 7: Start the Machine
Turn on the Daylight Press Machine and set it to the desired temperature. Allow the machine to reach a stable temperature before taking any readings.
Step 8: Record the Temperature Readings
Once the machine has reached a stable temperature, start recording the temperature readings from both the temperature sensor in the machine and the reference thermometer using the data logger. Take multiple readings at regular intervals to ensure accuracy.
Step 9: Compare the Temperature Readings
Compare the temperature readings from the temperature sensor in the machine with the readings from the reference thermometer. If there is a significant difference between the two readings, the temperature sensor may need to be calibrated.
Step 10: Adjust the Temperature Sensor
If the temperature readings from the temperature sensor in the machine are inaccurate, you will need to adjust the sensor. This can usually be done by adjusting the calibration settings on the machine's control panel. Refer to the machine's manual for instructions on how to adjust the calibration settings.
Step 11: Repeat the Process
After adjusting the temperature sensor, repeat the calibration process to ensure that the sensor is now providing accurate temperature readings. Take multiple readings at different temperatures to verify the accuracy of the sensor.
Step 12: Reinstall the Temperature Sensor
Once the temperature sensor has been calibrated and is providing accurate readings, carefully reinstall the sensor in the machine. Make sure the sensor is securely fastened and connected properly.
Troubleshooting
If you encounter any issues during the calibration process, such as inaccurate temperature readings or difficulty adjusting the sensor, refer to the machine's manual or contact our technical support team for assistance. We are always here to help you ensure the proper operation of your Daylight Press Machine.
Conclusion
Calibrating the temperature sensor in your Daylight Press Machine is a simple but essential process that ensures the accuracy of temperature measurements and the quality of the products manufactured. By following the steps outlined in this blog post, you can easily calibrate the temperature sensor in your machine and maintain optimal performance.

If you have any questions or need further assistance with the calibration process or any other aspect of your Daylight Press Machine, please do not hesitate to contact us. We are a leading supplier of Daylight Press Machines and are committed to providing our customers with the highest level of service and support. We look forward to discussing your requirements and helping you find the best solution for your manufacturing needs.
References
- Daylight Press Machine User Manual
- Industry Standards for Temperature Sensor Calibration


